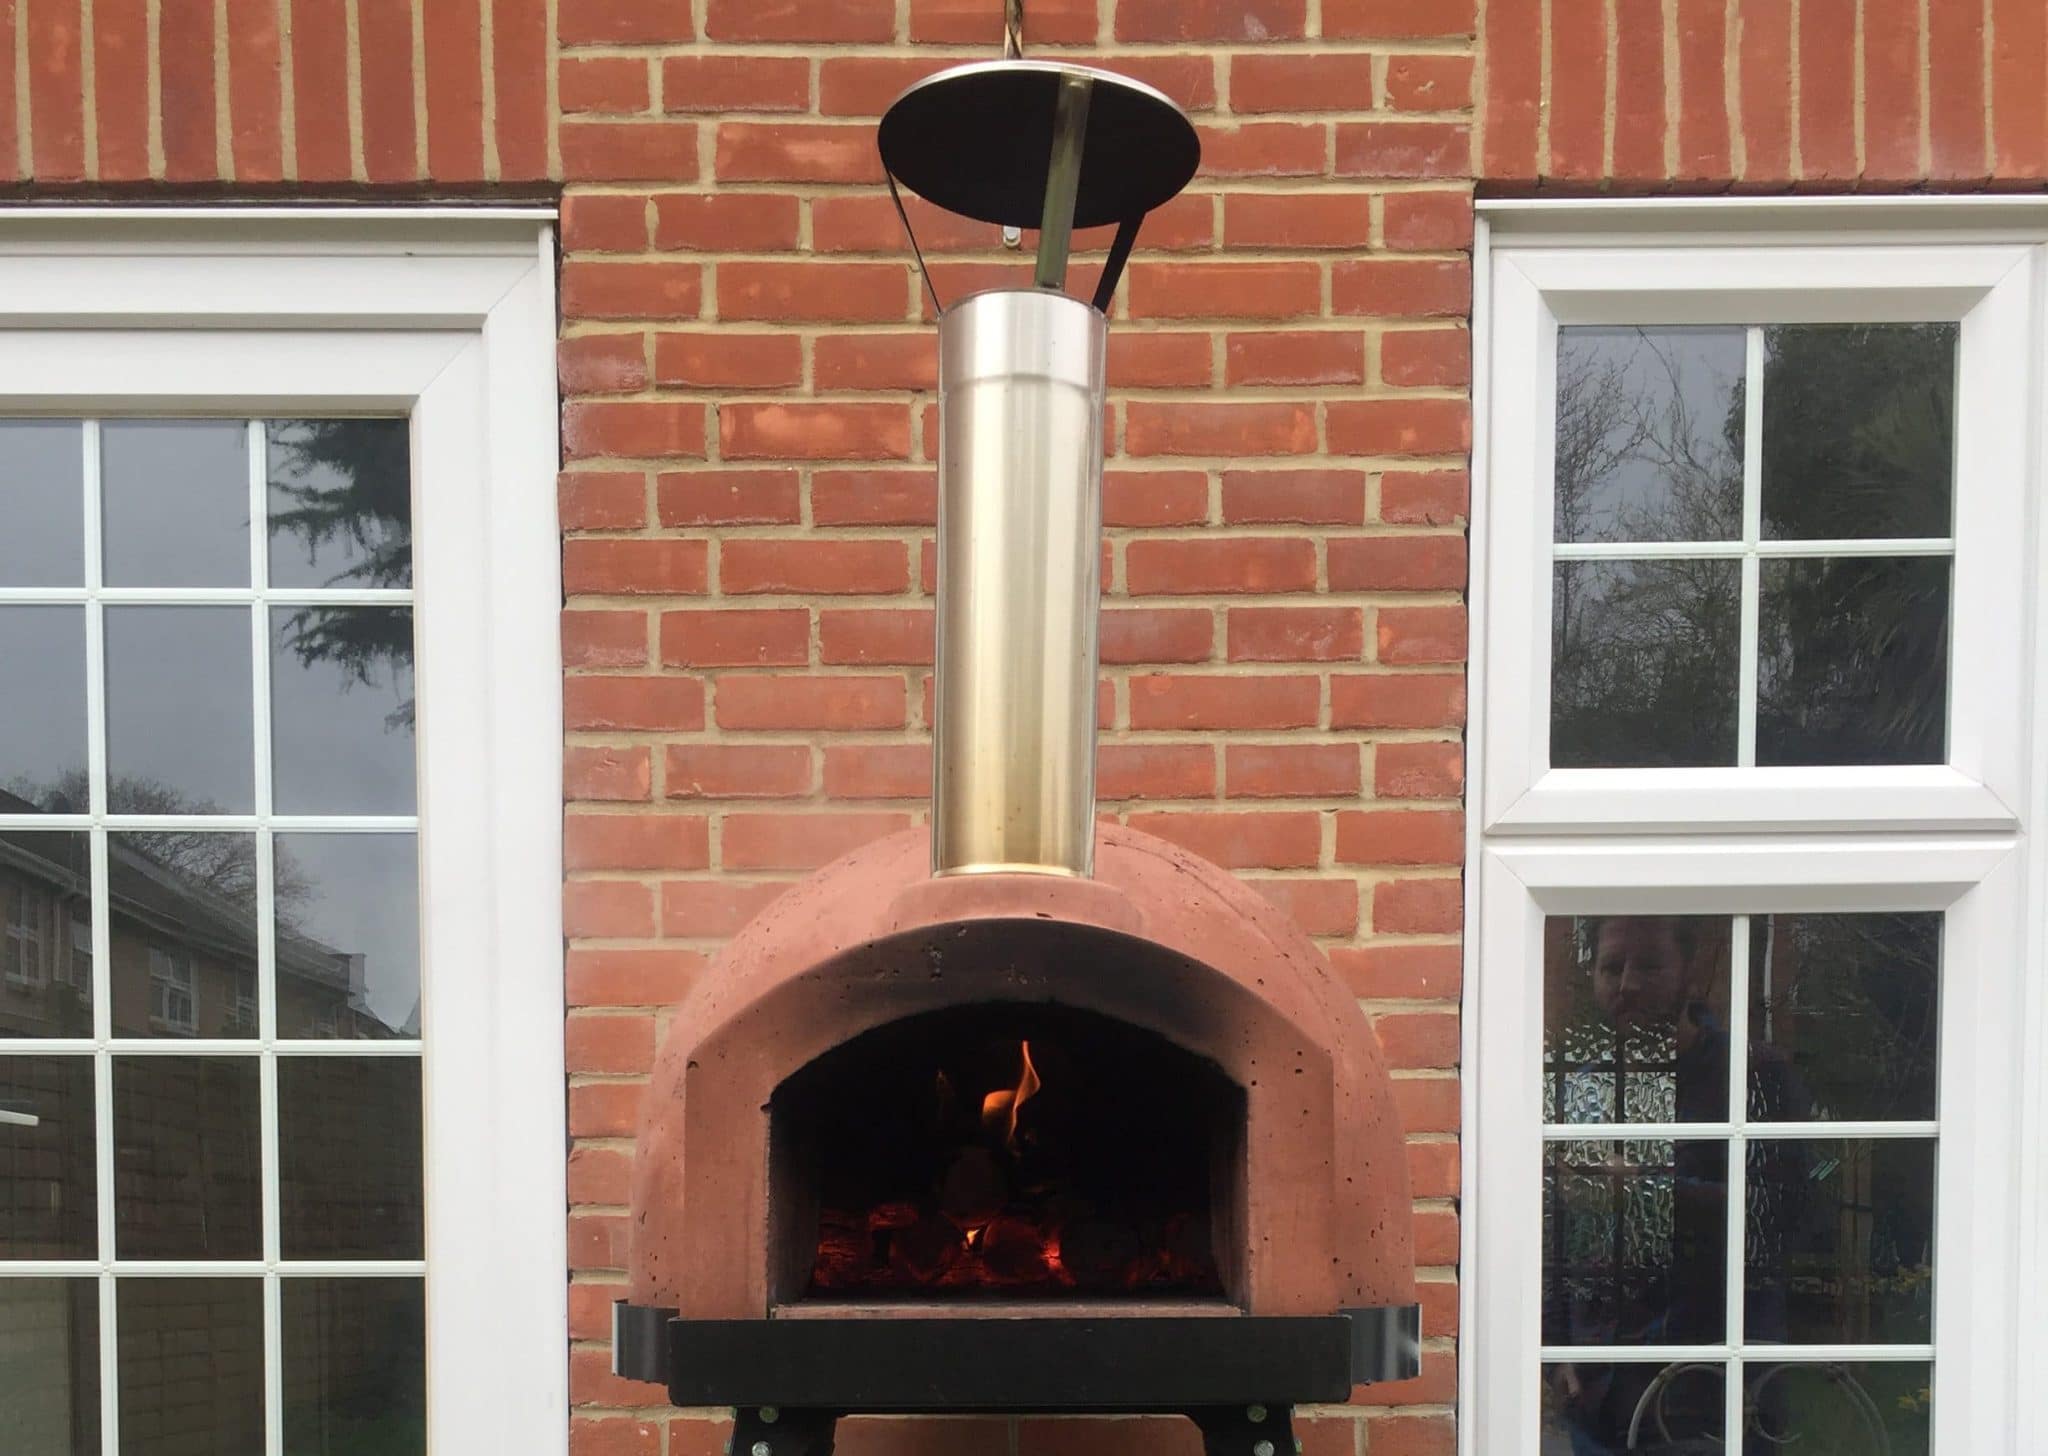
Rock Cakes were a frequent teatime treat during the Second World War as rations dictated the need to use less sugar and eggs! Still popular now, these come out beautifully when baked in a wood fired oven.
Ingredients
225g Plain Flour
2tsp Baking Powder
Pinch of salt
1tsp Mixed Spice
85g Butter, diced
85g Castor Sugar
85g Sultanas or Raisins
1 Egg
20g Milk
Demerara sugar for dusting
Method
Firstly fire up your wood fired oven to its optimum temperature, then leave to cool until your oven reaches the ideal baking temperature of 200°c.
Put the flour, baking powder, salt and mixed spice in a bowl. Add in the diced butter and rub with your fingertips until a breadcrumb consistency is achieved. Add the sugar and sultanas to the mix.
Next, lightly beat the egg with the milk, add to the mix and incorporate with a fork.
You can now start dividing the mix into 8-10 balls, and put on a baking tray. Rough the cakes up with a fork, and sprinkle with the Demerara sugar.
Bake in your wood fired oven for 10-12 minutes until your rock cakes turn a lovely golden brown colour. Put the rock cakes on a wire rack to cool for 5 minutes and then serve.
Are you interested in our wood fired ovens? Head over to our product pages for more information.
Galettes cook so well in a wood fired oven- the dry heat makes for incredible pastry and this peach and blueberry filling is a beautiful use of seasonal summer produce.
Ingredients
For the Pastry
160g Plain Flour,
15g Caster Sugar,
Pinch of salt,
110g Unsalted Butter, diced,
70ml Ice cold water
For the Filling
1 Peach, cut into segments
12 Blueberries
½ Tsp Plain flour
½ Tsp Demerara sugar
Dash of vanilla essence
1 Tsp Ground Almonds
Method
For this recipe you will need your oven at around 200°c.
To make the pastry, start by putting the flour, salt, sugar and diced butter in a blender and pulse until you have a crumb like consistency.
Gradually add the cold water until a dough is formed. Cling film, and leave in the fridge for 2 hours and up to 3 days.
When ready to bake, roll out the pastry on a well floured surface into a 10 inch circle and toss all the filling ingredients in a bowl and fan the peaches and blueberries in the centre.
Fold the edge of the dough over up to the filling, and cook on the deck of the oven with the door on for 30-40 minutes.
Are you interested in our wood fired ovens? Head over to our product pages for more information.
Welcome to another fantastic oven of the month! Our May winner is Andrew Bryce’s Mezzo 76 kit that’s been built into an authentic brick cube enclosure. After using and loving their own Mezzo 76 Go oven at home, Andrew and Sarah knew it would be a great investment for their holiday barn let, The Suffolk Escape.
Here at Stone Bake HQ we we’re in awe at how eye-catching the oven looked against the glorious countryside backdrop. Even better it’s taking pride of place as the main feature of the garden area which guests are able to use and enjoy during their stay. Here’s what Andrew and Sarah had to say about their oven.
“We love our Mezzo 76 and use it at least once a week for pizza parties and are gradually mastering more creative uses. We’ve slow cooked a delicious lamb shoulder and next we’re going to try and master grilling steaks “dirty” style on the embers.
We’ve had so much enjoyment from our pizza oven it was a must for our new barn conversion holiday let project. The guests so far have loved trying it and were surprised how easy it is make amazing pizzas!”
Here are just a few awesome comments from Andrew’s guests who have tried out the pizza oven during their stay!
“The great addition was the pizza oven. We fed 12 one evening and it was a great ‘activity’ with all involved, all the accouterments made this evening a great success. Great oven and addition to the barn.”
“The Pizza Oven was relatively straight forward to use and everything was at hand to create the perfect wood fired crust. An ideal center point for a family or party event.”
“Friday night using the pizza oven was great fun. One of us had prepared the dough and the evening was spent experimenting with lots of different topping combinations. My son who does not eat cheese had never eaten pizza before. Because he could leave the cheese off he is now a pizza loving convert. The oven was such a hit my youngest daughter and son in law have now bought and installed one in their own garden.”
Check out The Suffolk Escape’s Facebook page here.
To be in with a chance to win the title of Oven of the Month, simply send in your oven photographs and some feedback on your oven. Whether you are a new customer or purchased an oven from us a while ago, we want to hear from you. Send your photos to info@stoneovenco.co.uk – it’s as easy as that!
Are you interested in our wood fired ovens? Head over to our product pages for more information.
This recipe may seem almost too easy to be true- but trust us- magic happens with the dry heat of the oven and the fabulous fatty Lamb! Serve with some mash and spring greens, shred into tortillas with some minted yoghurt or just share at the table with new potatoes, salad and breads- either way, delicious!
Ingredients
1 Lamb Shoulder (bone in), around 1.5-2kg in weight
1 Bunch Rosemary
1 Red onion, quartered
2 Bulbs of garlic, split in half
1 ½tbsp Olive Oil
Method
For this recipe, you will need your oven at perfect roasting temperature which is around 200°c.
Put the onion, half the rosemary and one bulb of garlic in the middle of a roasting tray.
Score the fat on the lamb, rub all over with the olive oil and season generously with salt and pepper.
Pop the lamb on top of the onion, rosemary and garlic, and top with the remaining garlic bulb and leftover rosemary.
Foil the tray tightly and pop into the oven for 4- 4 ½ hours.
The shoulder is cooked when the meat shreds away easily and the bone is easy to remove.
Put the lamb on a chopping board, cover with foil and a tea towel, and leave to rest for at least 30 minutes. Voila!
Are you interested in our wood fired ovens? Head over to our product pages for more information.
Babaganoush should be smokey- which makes it even better when it’s made using a wood fired oven! The blackening of the aubergine at the start of the recipe is probably the most important step- this is when we’ll be creating all our smokey flavours- so don’t be afraid to really blacken the aubergine up!!
Ingredients
For the flatbread dough
125ml Water
200g Plain Flour, Plus extra for rolling and cooking
1tbsp Toasted Cumin Seeds
20g Butter, melted until it turns brown and smells nutty
For the Babaganoush
1 Large Aubergine
4 Cloves of garlic
2tsp Ground Cumin, lightly toasted
1tsp Tahini
2tbsp Roughly Chopped Coriander
2tbsp Yoghurt
Olive Oil
Method
As a rolling flame is beginning to die down in your oven, pierce the aubergine several times all over with a fork, and using tongs, carefully pop the aubergine close to the wood embers and turn regularly until the skin is well blackened.
After 10-15 minutes, remove from the oven, wrap in foil, and pop back in on the opposite side to the fire.
Wrap the unpeeled garlic cloves in foil, and pop them next to the aubergine. Leave both parcels to roast for 15-20 minutes.
Meanwhile, combine all the flatbread ingredients to form a dough, wrap in cling film, and pop in the fridge.
When the time is up on the aubergine, carefully unwrap it, and peel and discard the skin. Put the flesh into a food processor and squeeze the garlic cloves out of their skin into the food processor. Add in the yoghurt, cumin and tahini, blitz for 5-10 seconds, season, and pop into a ramekin.
Next roll out the flatbreads as thin as possible whilst getting your fire back up to a rolling flame. Flour each flatbread well, and cook directly on the oven floor- the flatbreads will begin to brown and bubble when they’re ready.
Finally, to serve, top the babaganoush with a good lug of olive oil and the chopped coriander.
Are you interested in our wood fired ovens? Head over to our product pages for more information.
Making the perfect pizza always starts with having a great dough recipe. Our Neapolitan dough is a great place to start and only contains four basic ingredients! Easy or what? Find it here.
Pizza Base Prep
Once you’ve got your dough recipe sorted, it’s time to move onto stretching out your pizza base. Again this step is super important in getting a base that is just the right thickness, ensuring a nice and crispy pizza. Our blog post all about prepping the perfect pizza base should have it all covered. Just remember, it may take a few attempts to be able to get the hang of this.
Pizza Sauce
Now it’s time to think about the pizza sauce, which trust us can make or break a pizza! Our secret tomato sauce recipe is perfect if you want to achieve a vibrant, authentic and most importantly flavourful pizza. Find the super quick recipe here.
Toppings
Now, the most exciting part- toppings! We know how it’s easy to get carried away and overtop your pizza- trust us when we say less is more! Our sister company Roccbox, has some truly fantastic pizza ideas on their website. Why not give a few of our favourites a go? The ‘Caponata’ pizza is a fantastic veggie option or for something simple but tasty the ‘Baby Broccoli and Chorizo’ pizza is a winner!
Top Tip: Never be afraid to experiment with pizza topping combinations. Ever thought of trying Brussels spouts and pancetta on a pizza? No? Well give it a go, it’s delicious!
The perfect cooking environment
Finally, for cooking pizzas in your wood fired oven, you will need to create a high-heat cooking environment. Start by following our firing up process video, which shows you exactly how to get your oven to temperature. Remember, you are aiming for temperatures ranging from 350°c-450°c with a large rolling flame.
Top Tip: A great way of telling when your oven is ready to start cooking in is to watch out for a clear patch starting to form on the inside of your dome.
Once your oven is ready, you can place your pizzas directly on the cooking floor, turning when appropriate, for a fantastic 90-second cook time. The heat from the oven will provide a super crispy base and the rolling flame bouncing across the dome will evenly cook your toppings, resulting in the perfect pizza!
Please be sure to send over your pizza photos to us, we would love to feature them on our gallery.
Are you interested in our wood fired ovens? Head over to our product pages for more information.
As the nights are getting warmer, these bright and zingy corn on the cobs are great on BBQ’s- but even better in a wood fired oven! You cook these at any temperature in the oven, but we love the caramelised flavours that come about from the high heat cooking.
Ingredients
4 Corn On The Cob’s
250g Unsalted Butter, softened
2 Red Chilli’s, deseeded and finely chopped
1tsp Smoked Paprika
Pinch of Chilli flakes
1 Lime, juice and zest
4tbsp Chopped Coriander
Method
You can bake these cobs whilst cooking pizzas with the high heat and a rolling flame, or you can let the temperature come down should you prefer- just adjust the times accordingly.
The butter can be made a day before, simply mix the softened butter with the smoked paprika, chopped chilli, lime juice and zest, season well, and wrap tightly in cling film to set in the fridge.
When you’re ready to cook the corns, lay out 2 double sheets of foil, drizzle with oil and salt, and pop 2 corns in each. Top each corn with a good chunk of the butter and wrap tightly.
Pop the two foil parcels on a tray, and place into your wood fired oven, on the opposite side to your fire for around 15 minutes. Once the time is up, remove the foil, place your corns onto the tray and cover the them with the juices from the foil packs.
Return to the oven, tossing regularly, and cook for a further 5-10 minutes until they’ve browned nicely.
To serve, add another thin slice of butter to each corn and sprinkle over some coriander. Delicious!
Are you interested in our wood fired ovens? Head over to our product pages for more information.
He’s been cooking up a feast in his oven so far, rustling up some seriously delicious looking pizzas, roasted scallops, asparagus and ham- not to mention the most epic sourdough loaf we’ve ever seen!
We’re looking forward to seeing what amazing wood fired dishes he creates next.
Our wood fired onion marmalade bread is definitely a crowd pleaser, perfect for nibbles or a lunch accompaniment. As with all breads, you get an amazing crust from the dry heat of the oven, and if you make your own marmalade they’re going to taste even better- find our recipe below.
Ingredients
1kg Strong White Bread Flour
300ml Milk
300ml Hot Water
50g Fresh Yeast
30g Salt
1tbsp Soft, unsalted butter
200g Onion Marmalade
1 Egg Yolk
Method
For this recipe, you will need your oven at baking temperature, which is anywhere from 160° c-180°c.
To start making your bread, firstly put the flour and salt in a mixing bowl, add the liquids and butter along with the yeast in a jug and gradually to your mixer.
Mix for around 5 minutes or until a smooth dough is formed.
Knead the dough by hand for a few minutes, transfer to a bowl, cover with a tea towel, and leave to proof for 1 hour.
Once the time is up, knock the dough back and using a rolling pin, roll out to a large rectangle.
Place a 2inch thick line of onion marmalade across the length of the dough then carefully roll the dough over the marmalade until you end with a kind of Swiss roll.
Slice the rolled dough into 3 inch pieces and stand them up a lined baking tray. Cover loosely with a piece of cling film and leave to proof for another 30 minutes.
Remove the cling film and lightly brush the top of the rolls with the beaten egg yolk.
Put the tray in the oven and bake for between 12 and 15 minutes.
Onion Marmalade
Make sure your onions are as thinly sliced as you can for this recipe- it will allow them to really soak up all that flavour! If you’re not overly confident with your knife skills you can try using a mandolin.
Ingredients
1kg Spanish Onions, super thinly sliced
125g Butter
65g Caster Sugar
65g Demerara Sugar
125g Red Wine Vinegar
500ml Red Wine
Method
To start your onion marmalade, get your heavy bottomed pan super hot and put the butter in. Allow it to almost burn until it smells a bit ‘nutty’.
Add the onions to the pan with a good pinch of salt and cover with a lid, return to the oven and leave to sweat until soft. This should take around 30minutes but it’s a good idea to check them occasionally and give them a stir.
Once soft, add the sugar to the pan, re-cover with the lid, and give them another 30 minutes in the oven.
Next, add the vinegar, cover, and cook for a further 30minutes.
Finally, remove the lid add the red wine, cover the pan with parchment paper instead of the lid- this will help the marmalade reduce- and return for 1 hour 30minutes.
Are you interested in our wood fired ovens? Head over to our product pages for more information.
This month our April oven of the month is Mike and Tina Heathman’s Primo 60 Go oven. Not only is it taking pride of place in their awesome garden area, it’s clear the whole family are making excellent use of it cooking up an absolute storm! As seen in the photos below, the Heathman’s have been adventurous with their wood fired cooking ventures and alongside lots of delicious looking pizzas, they’ve also tried out baked camembert and chestnuts to name a few! Here’s what the Heathman’s had to say about their oven:
“We absolutely love our oven, it’s one of the best purchases we’ve ever made – a great way of getting all the family together! Thanks so much to the team at The Stone Bake Oven Company for their excellent customer service throughout the order and delivery process!
We haven’t been too adventurous yet – starting with roasted chestnuts (we did get the oven at Christmas!) & pizzas but looking forward to trying some seafood soon. First mackerel & lobster caught this week so hope to try those soon!
It’s safe to say the family love it and never say no to the offer of coming round when the oven’s fired up- the men also love it – like a BBQ the fire draws them like a moth!
We hope to use it even more now the lighter, milder nights are here.”
To be in with a chance to win the title of Oven of the Month, simply send in your oven photographs and some feedback on your oven. Whether you are a new customer or purchased an oven from us a while ago, we want to hear from you. Send your photos to info@stoneovenco.co.uk – it’s as easy as that!
For more information on our residential oven range, check out the Primo, Mezzo, Vento and Gusto pages. Please don’t hesitate to contact the team on 01425 204985 should you have any further questions.


 Galettes cook so well in a wood fired oven- the dry heat makes for incredible pastry and this peach and blueberry filling is a beautiful use of seasonal summer produce.


 This recipe may seem almost too easy to be true- but trust us- magic happens with the dry heat of the oven and the fabulous fatty Lamb! Serve with some mash and spring greens, shred into tortillas with some minted yoghurt or just share at the table with new potatoes, salad and breads- either way, delicious!


 As the nights are getting warmer, these bright and zingy corn on the cobs are great on BBQ’s- but even better in a wood fired oven! You cook these at any temperature in the oven, but we love the caramelised flavours that come about from the high heat cooking.


 Our wood fired onion marmalade bread is definitely a crowd pleaser, perfect for nibbles or a lunch accompaniment. As with all breads, you get an amazing crust from the dry heat of the oven, and if you make your own marmalade they’re going to taste even better- find our recipe below.
 This month our April oven of the month is Mike and Tina Heathman’s Primo 60 Go oven. Not only is it taking pride of place in their awesome garden area, it’s clear the whole family are making excellent use of it cooking up an absolute storm! As seen in the photos below, the Heathman’s have been adventurous with their wood fired cooking ventures and alongside lots of delicious looking pizzas, they’ve also tried out baked camembert and chestnuts to name a few! Here’s what the Heathman’s had to say about their oven:

